To access Google Data Studio, a Google account is needed. You can log into Google Data Studio or create an account on the Google Data Studio page.
A Boost.space Integrator Data Source created and authorized in Google Data Studio.
A created (and executed) scenario
To establish a connection to Google Data Studio you must create and run your scenario beforehand! See the instructions below.
Boost.space Integrator‘s use and transfer of information received from Google APIs to any other app will adhere to Google API Services User Data Policy.
Creating a Boost.space Integrator Data Source in Google Data Studio
Create your scenario.
You must run the scenario before you connect to the Boost.space Integrator data source in Google Data Studio.
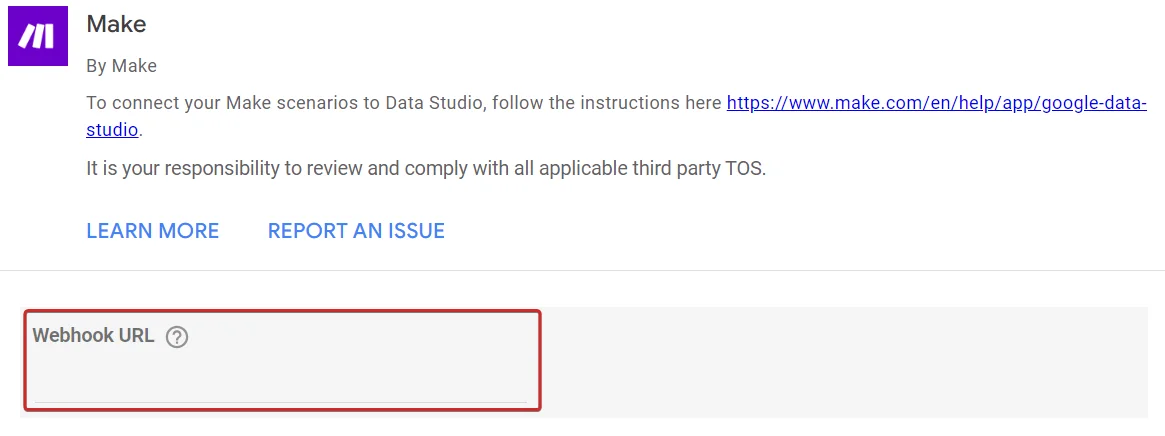
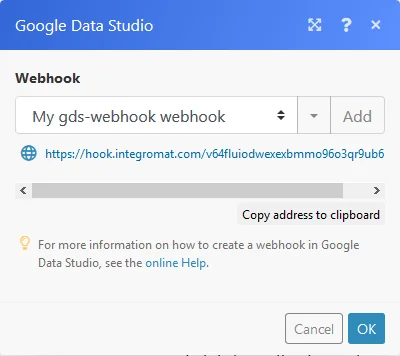
Each Google Data Studio scenario in Boost.space Integrator must have at least two modules: the webhook, _New Request_ (the first module in the scenario) and the responder/aggregator, _New Response_ (the last module in the scenario in which you must specify a structure for your data). Between these two modules, you should place other modules.You can use this template for it: https://www.make.com/en/template/3129-send-daily-weather-forecast-data-to-google-data-studio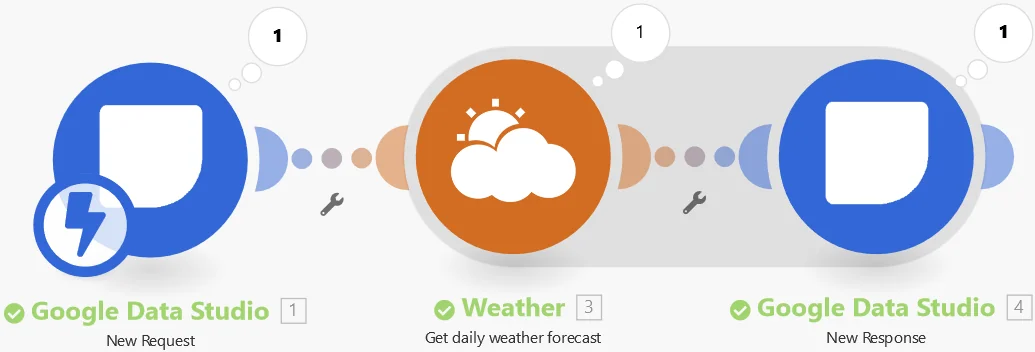Use the _New Request_ module to generate a webhook URL.Copy the Webhook URL to use it in step 6.
2. Save the scenario and Run it by clicking the Run Once button
5. Sign-in using your Google account credentials and grant access rights by clicking on the ALLOW button.
Paste the Boost.space Integrator webhook URL – use the webhook URL from step 1.
Click on the CONNECT button in the top-right corner.
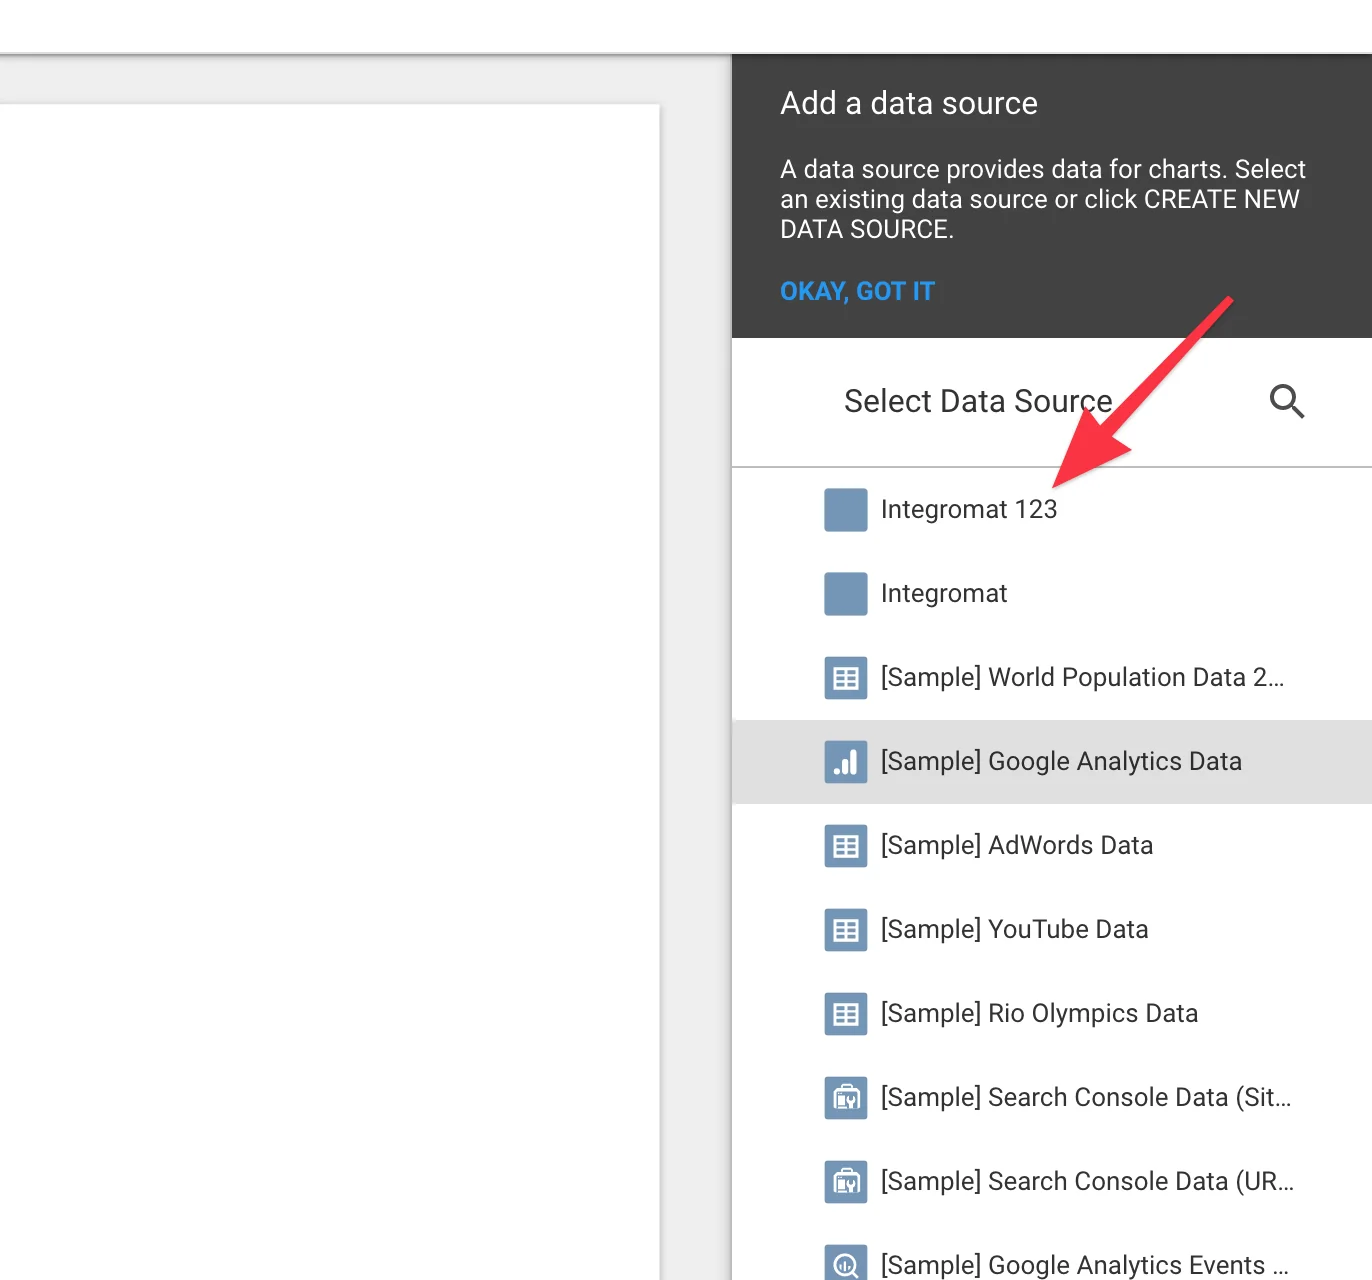
Add the data source to your report.
Aggregators
New response
This module must be the last module in your scenario. It sends collected data to Google Data Studio.
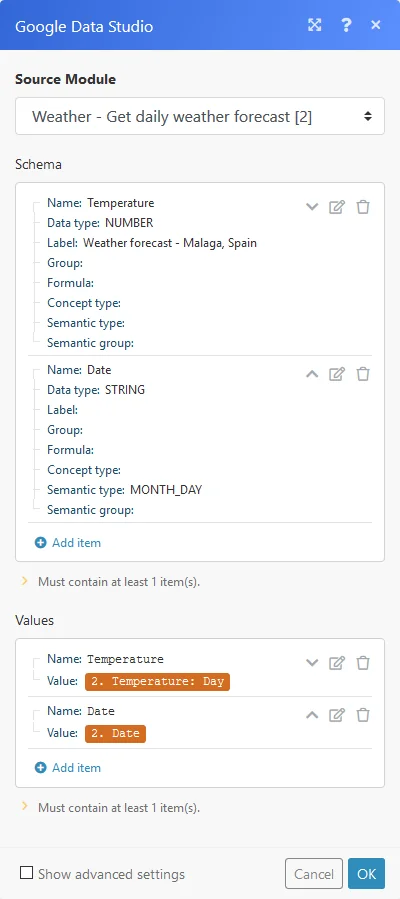
Source module
Select the source module you want to collect the data from.
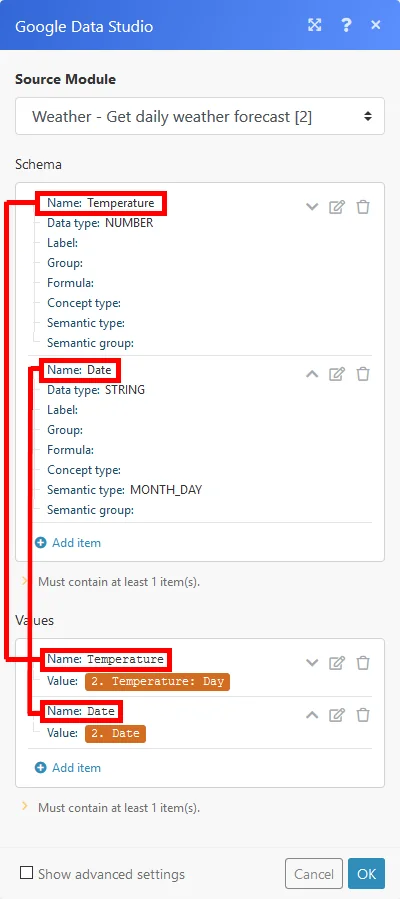
Schema
Set Name and Data type.
The Name field will be used as a unique identifier. Only alphanumeric characters and underscores are allowed. E.g. instead of “Campaign ID” enter “Campaign_ID“.
You can set a more user-friendly name in the Label field under the Show advanced settings option.
Group by
Here you can define an expression containing one or more mapped items. The aggregated data will be then separated under Groups with the same expression’s value. Each Group outputs as a separate bundle and contains a Key with the evaluated expression and the aggregated text. By doing this, you can use the Key as a filter in subsequent modules.
Stop processing after an empty aggregation
Enable this option to stop the scenario when no data is received.
Values
Enter Name and Value.
The name of the Name field in the Schema section must be the same as the name of the Name field in the Values section.
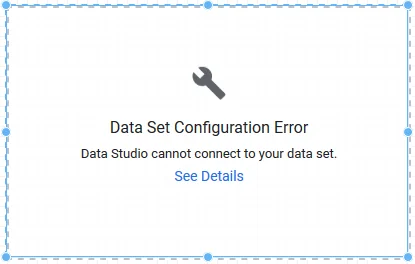
Data Set Configuration Error
If you get this error message, make sure that:
You run your Boost.space Integrator scenario before performing an action in Google Data Studio.
The webhook in your active New Request module matches the webhook URL used in the Boost.space Integrator Google Data Studio data source.
Sample scenario
The following scenario will collect data from the Weather > Get Daily Weather Forecast module and will create a chart in the Google Data Studio.
Google Data Studio > New Request module
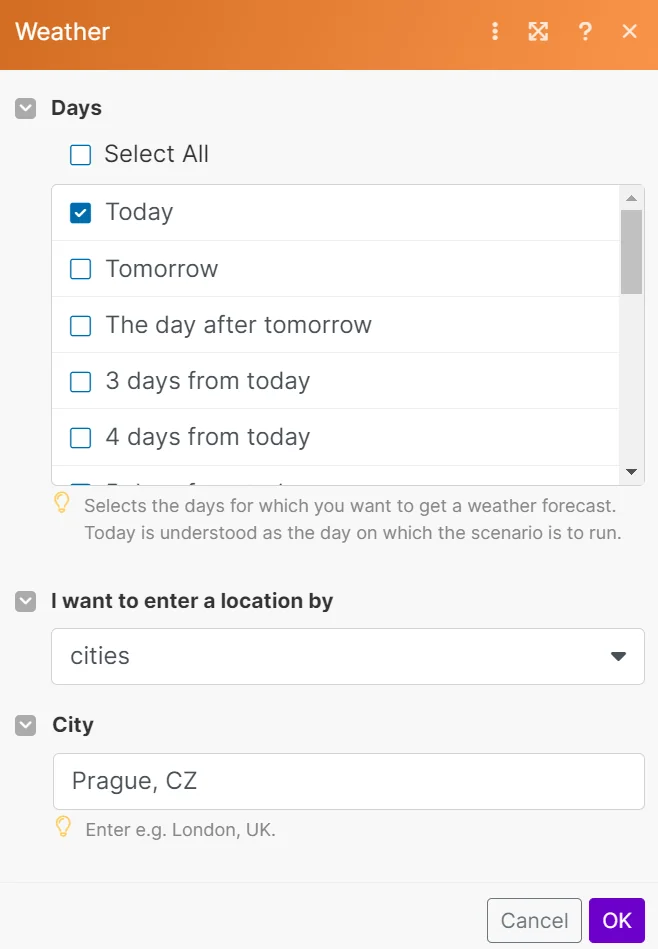
Weather > Get Daily Weather Forecast module
Google Data Studio > New Response module
Legacy article, imported from the original Boost.space knowledge base (/knowledge-base/applications/business-intelligence/google-data-studio/).