Google Cloud Print, Google’s cloud-based printing solution that has been in beta since 2010, will no longer be supported as of December 31, 2020. For more details, refer to https://support.google.com/chrome/a/answer/9633006.
The Google Cloud Print modules enable you to retrieve or delete print jobs and print in your Google Cloud Print account.
Getting Started with Google Cloud Print
Prerequisites
A Google account
In order to use Google Cloud Print with Boost.space Integrator, it is necessary to have a Google Cloud Print account. If you do not have one, you can create a Google account at the Google Cloud Print website.


Obtain client credentials for your custom app


To obtain the client credentials, you must have access to Google Cloud Console and be able to create or edit the project.
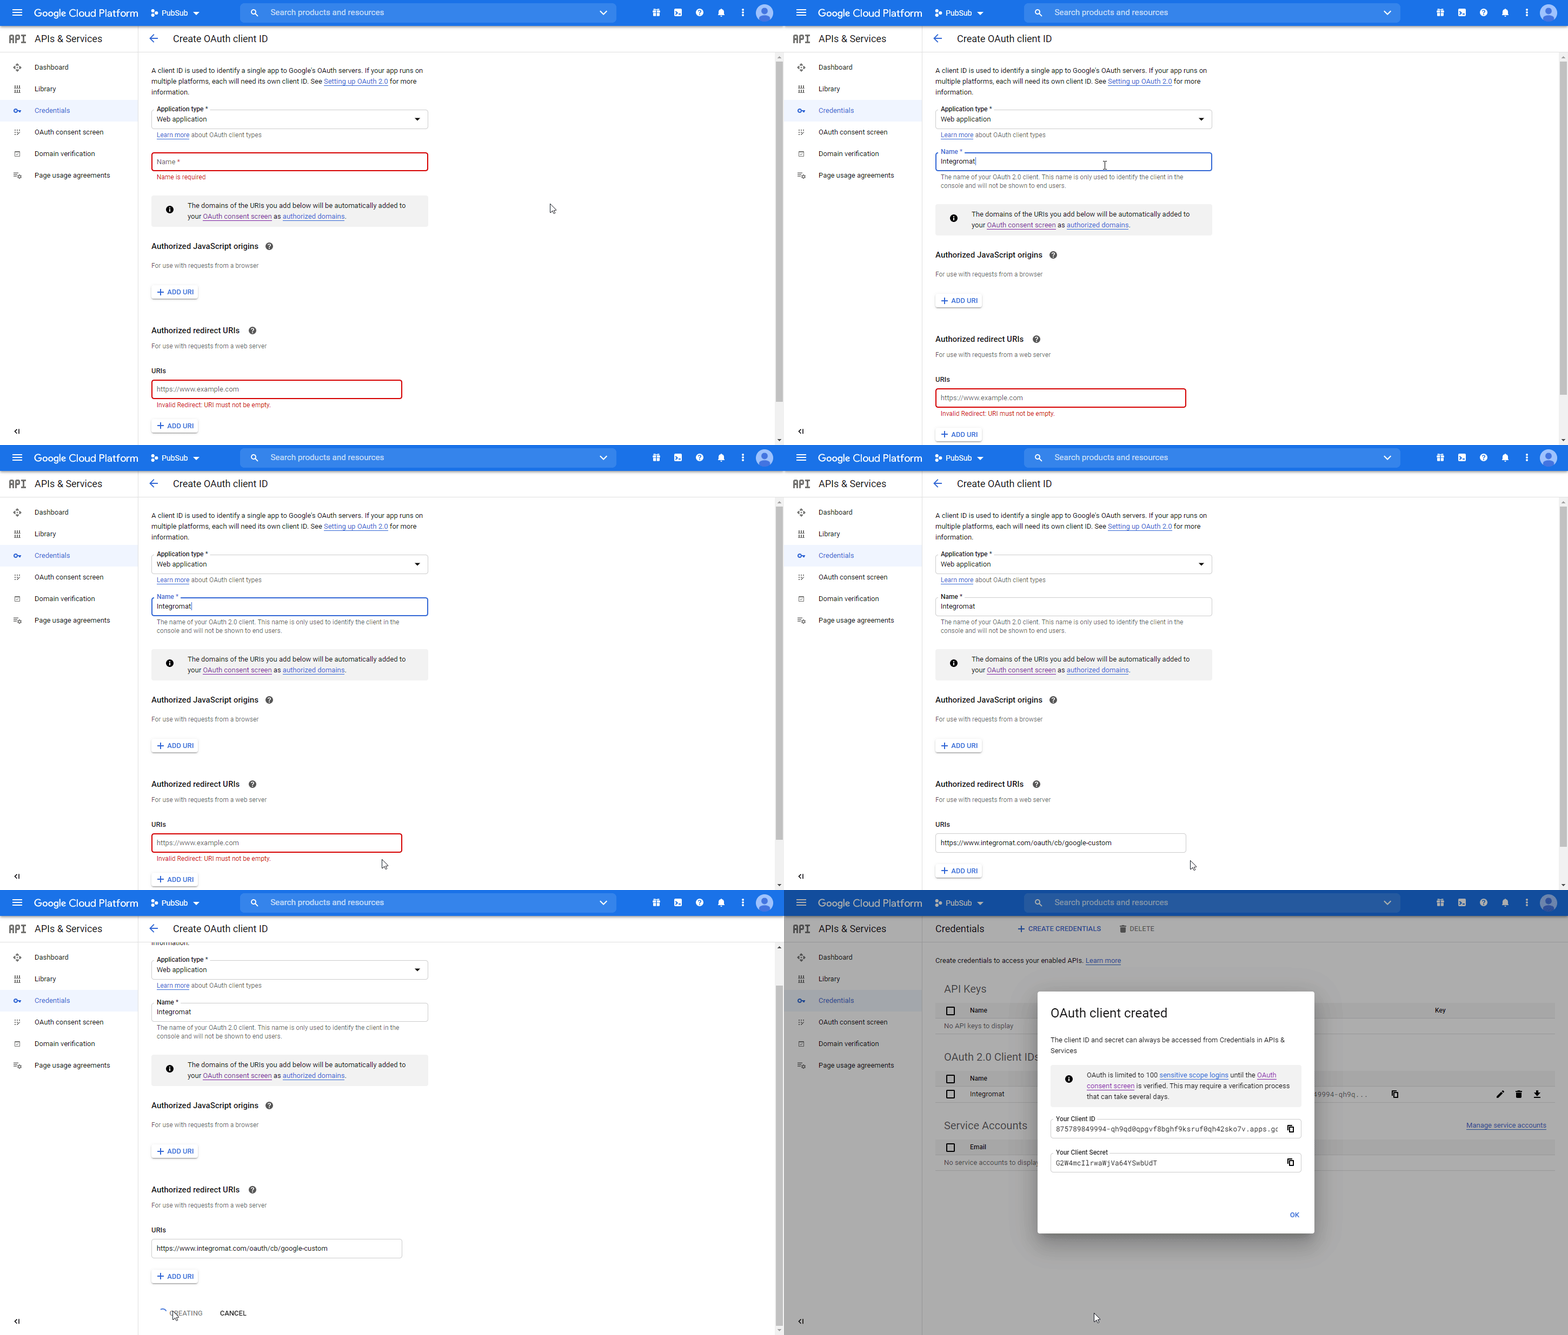
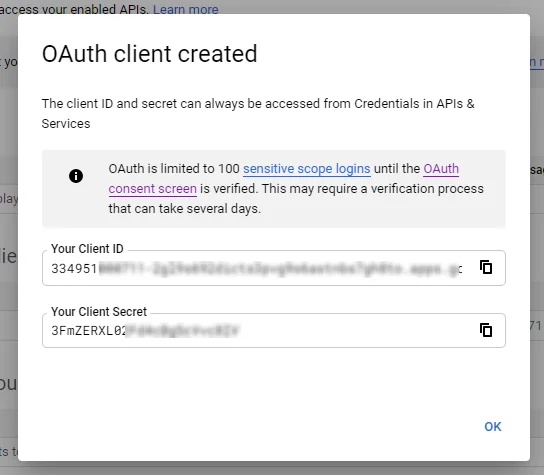
A dialog containing the app’s Client ID and Client Secret is displayed. Save them in a safe place for later use.
You have successfully created the client credentials.
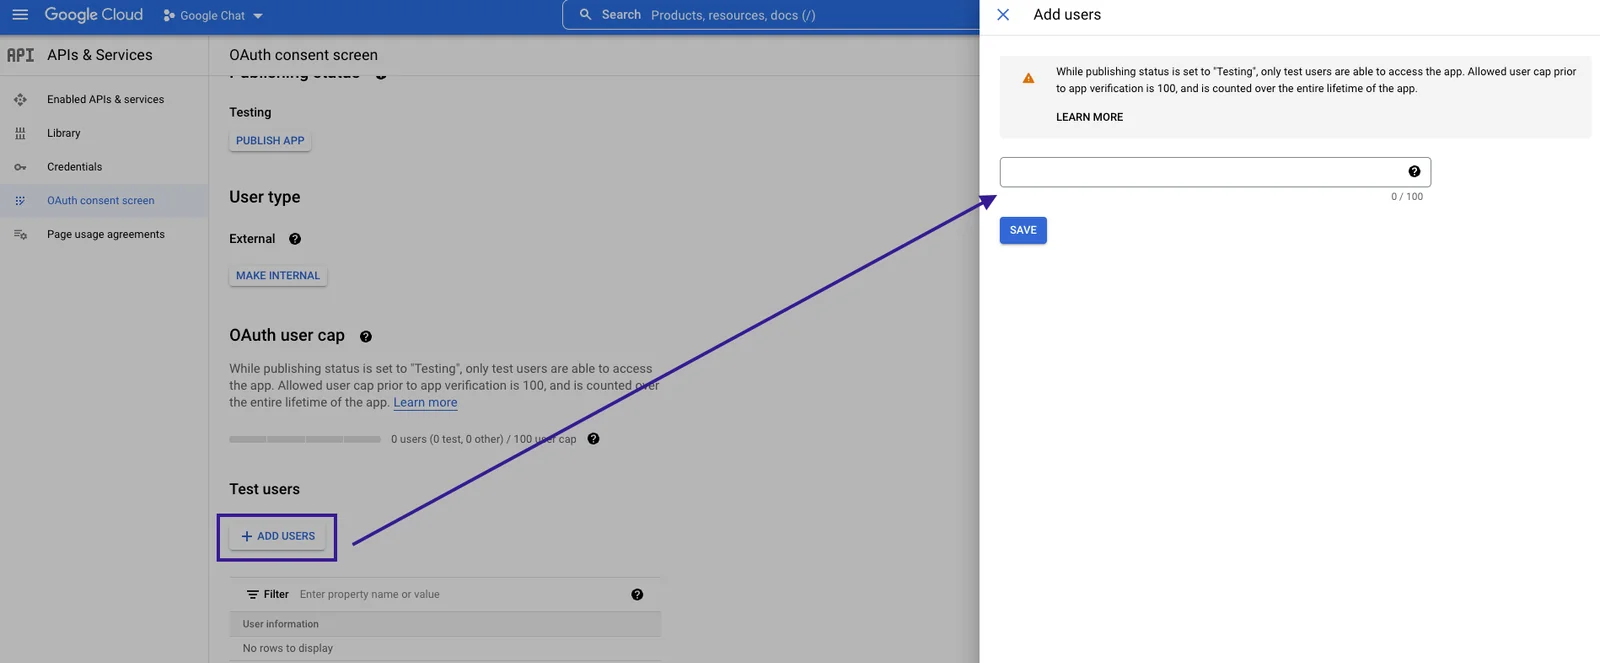
Publishing statusesTesting: If you keep your project in the Testing status, you will be required to reauthorize your connection in Boost.space Integrator every week. To avoid weekly reauthorization, update the project status to In production.
In production: If you update your project to the In production status, you will not be required to reauthorize the connection weekly. To update your project’s status, go to the OAuth consent screen and click Publish app. If you see the notice Needs verification, you can choose whether to go through the Google verification process for the app or to connect to your unverified app. Currently connecting to unverified apps works in Boost.space Integrator, but we cannot guarantee the Google will allow connections to unverified apps for an indefinite period.
For more information regarding publishing statuses, refer to the Publishing status section of Google’s Setting up your OAuth consent screen help.
Connecting Google Cloud Print to Boost.space Integrator
To connect Google Cloud Print app:
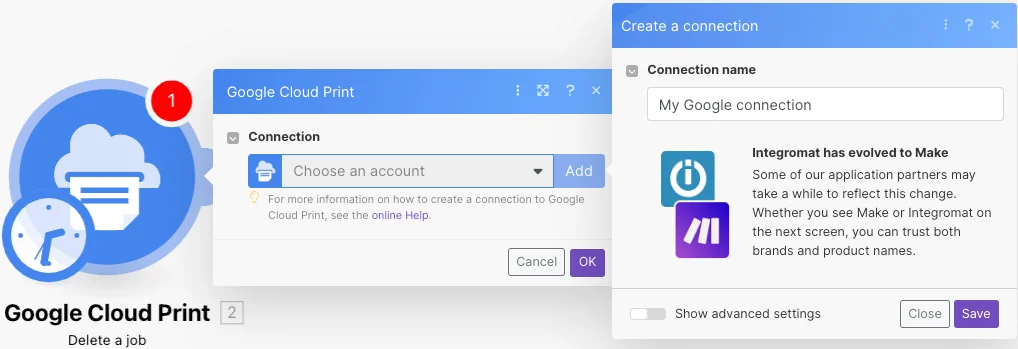
Log in to your Boost.space Integrator account, insert a Google Cloud Print module in your scenario, and click the Add button next to the Connection field.
Optional: In the Connection name field, enter a name for the connection.
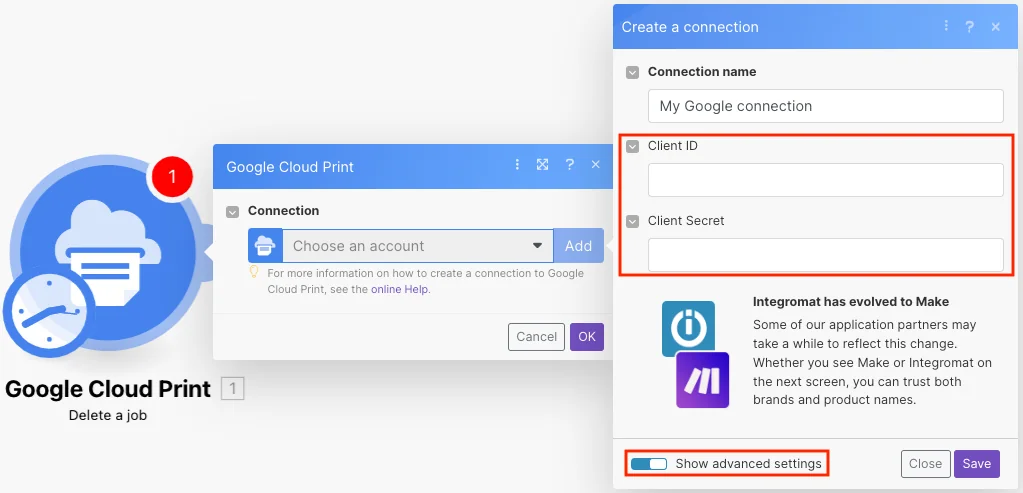
Optional: Click Show advanced settings and enter the client credentials.
Click Save.
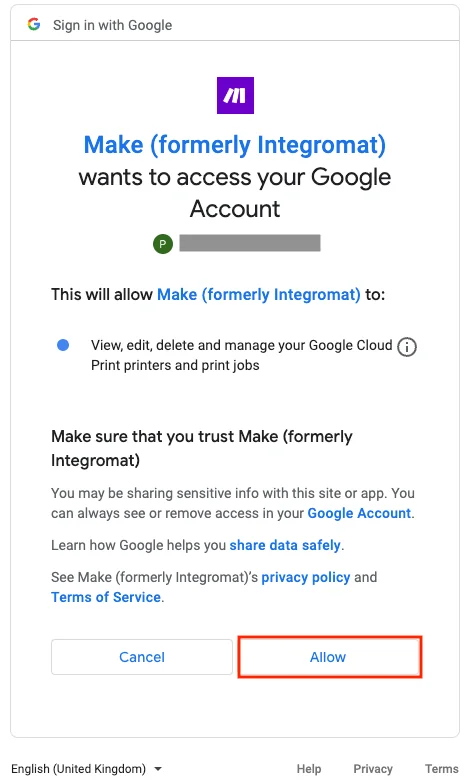
Confirm the permissions dialog by clicking the Allow button.
You have successfully established the connection. You can now begin editing your scenario and adding more Google Cloud Print modules. If your connection needs reauthorization at any point, follow the connection renewal steps here.
Select the printer you want to use with Google Cloud Print.
Title
Enter the title of the print job to be used within GCP.
Source File
Map the file you want to print from the previous module (e.g. HTTP > Get a File or Google Drive > Get a file), or enter the file name and file data manually.
Tag
Add one or more tags to the print job. You can attach a set of unique tags to a print job, and these will be available to the printer to which the print job is submitted.
Get a Print Jobs
Retrieves print jobs from your Google Cloud Print account.