Netlify
The Netlify modules enable you to monitor form submissions, deploy events, deploy starts, deploy success and deploy failures, or retrieve sites and start deploys in your Netlify account.
Getting Started with Netlify
Prerequisites
- A Netlify account
In order to use Netlify with Boost.space Integrator, it is necessary to have a Netlify account. If you do not have one, you can create a Netlify account at Netlify.
Connecting Netlify to Boost.space Integrator
To connect your Netlify account to Boost.space Integrator you need to obtain the access token from your Netlify account.
1. Log in to your Netlify account.
2. Click on your profile icon and select the User settings option.

3. Open Applications and click New access token.

4. Enter the description for the access token and click the Generate token button.
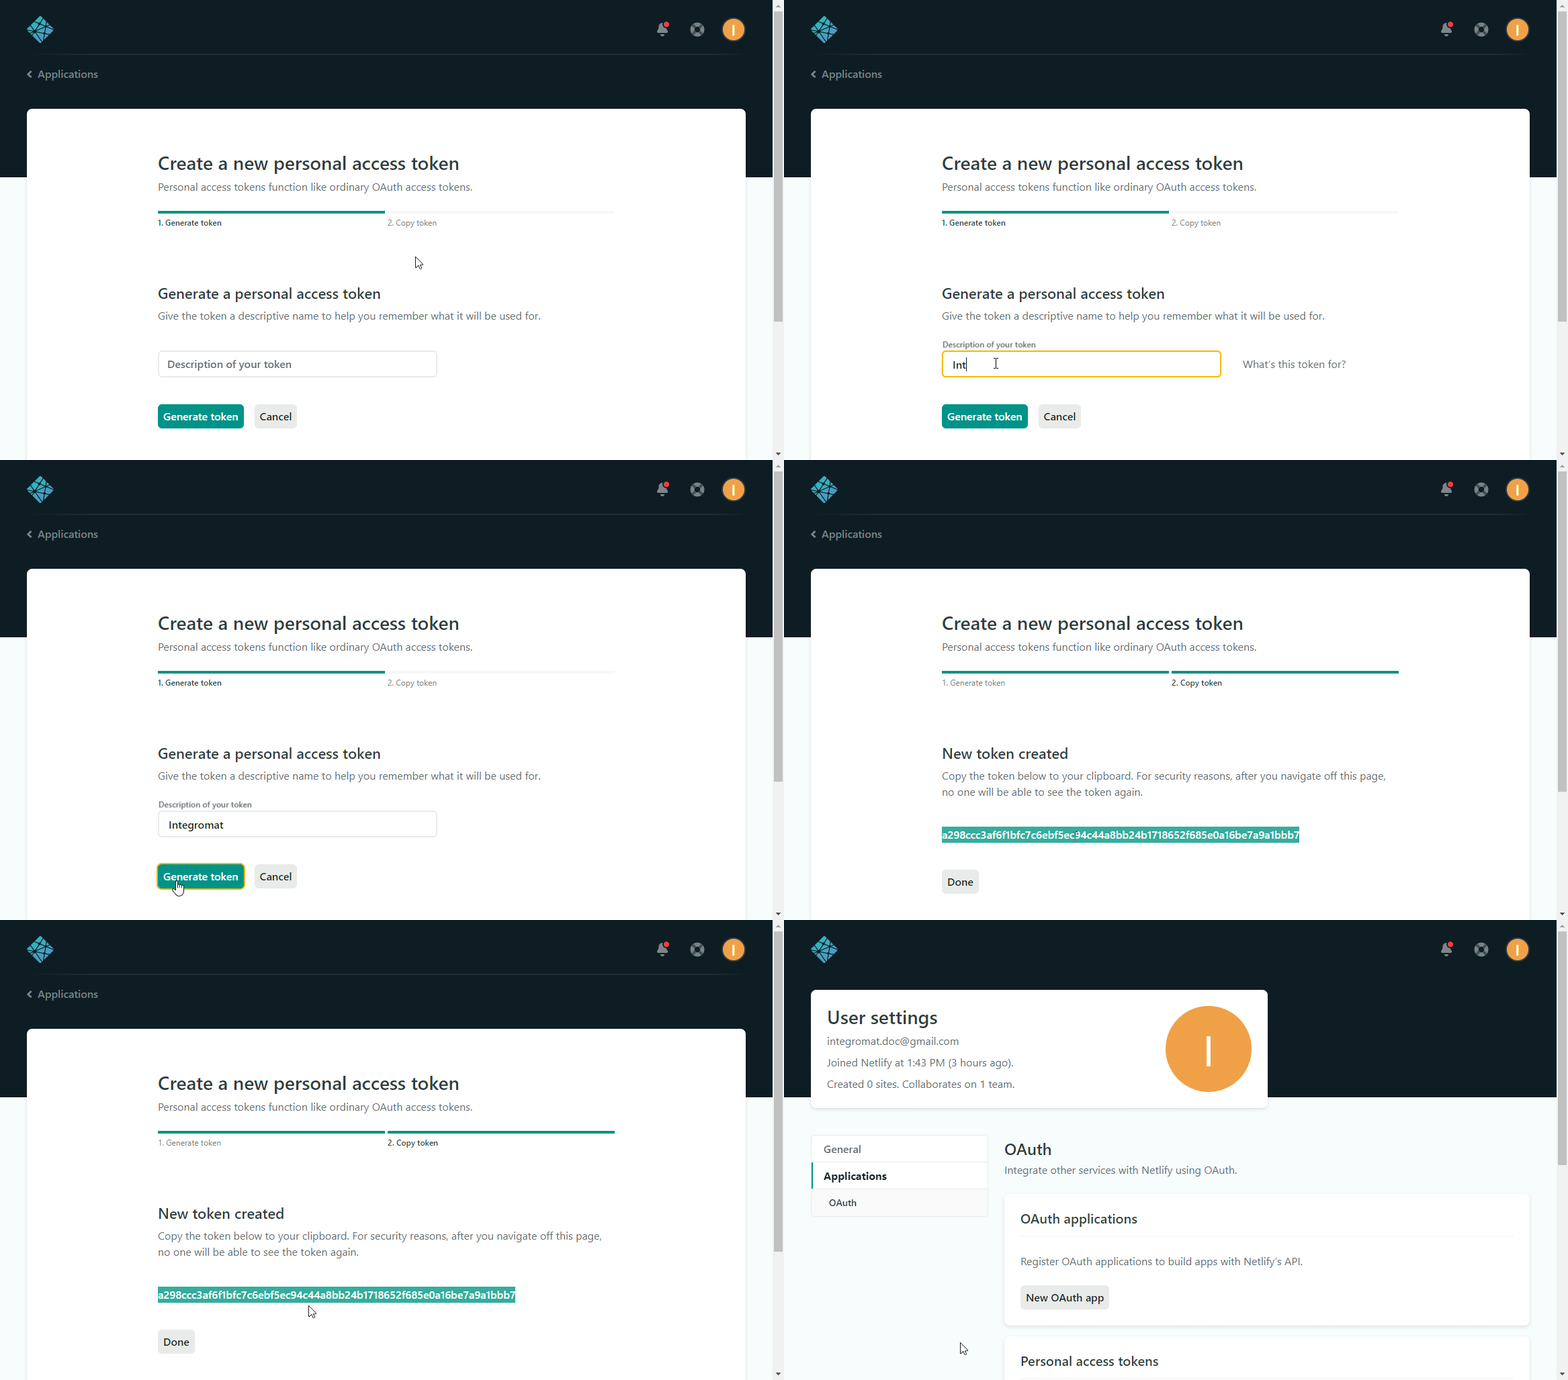
5. Copy the provided token and close the dialog by clicking the Done button.
6. Go to Boost.space Integrator and open the Netlify module’s Create a connection dialog.
7. Enter the Access Token you have copied in step 5 to the respective field and click the Continue button to establish the connection.
The connection has been established. You can proceed with setting up the module.
Site
Watch Form Submissions
Triggers when a new form is submitted on the specified site.
Netlify comes with built-in form handling. The build bots do it by parsing your HTML files directly at deploy time, so there’s no need for you to make an API call or include extra JavaScript on your site. For more information, you can view the documentation on https://docs.netlify.com/forms/setup/#html-forms.
Code an HTML form into any page on your site, add a netlify attribute or data-netlify="true" to the <form> tag, and you can start receiving submissions in your Netlify site admin panel.
Here’s an example:
<form name="contact" method="POST" data-netlify="true"> <p> <label>Your Name: <input type="text" name="name" /></label> </p> <p> <label>Your Email: <input type="email" name="email" /></label> </p> <p> <label>Your Role: <select name="role\[\]" multiple> <option value="leader">Leader</option> <option value="follower">Follower</option> </select></label> </p> <p> <label>Message: <textarea name="message"></textarea></label> </p> <p> <button type="submit">Send</button> </p> </form>
To create the webhook for Watch Form Submissions module follow the steps below:
1. Choose the Watch Form Submissions module.
2. Add a new webhook.
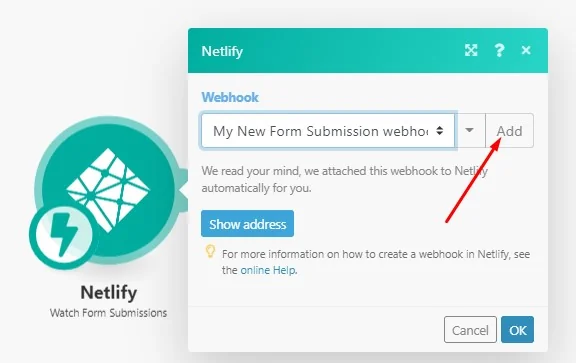
3. Fill the Add a hook dialog as follows:
Webhook name
Enter a name for the webhook.
Connection
Establish a connection to your Netlify account.
Site ID
Select the site that contains the form you want to watch for new form submissions.
Form ID
Select the form you want to watch for new form submissions.
List Sites
Lists sites deployed on your Netlify account.
Connection
Establish a connection to your Netlify account.
Site Name
Enter the site name to filter results by. Otherwise, all your sites deployed on Netlify will be returned. E.g. elastic-keller-f19a9b.
Limit
Set the maximum number of sites Boost.space Integrator will return during one execution cycle.
Get a Site
Retrieves details about a specified site.
Connection
Establish a connection to your Netlify account.
Site ID
Select the site name or map the ID of the site you want to retrieve details about.
Site Deploy
Watch Deploy Events
Triggers when a selected deploy event occurs.
To create the webhook for Watch Deploy Events module follow the steps below:
1. Choose the Watch Deploy Events module.
2. Add a new webhook.
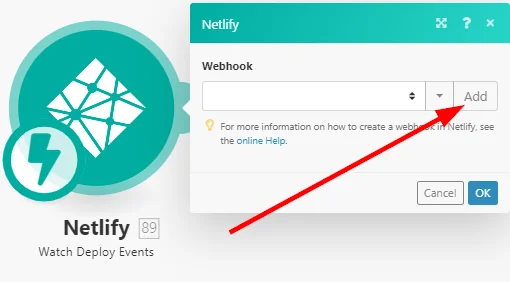
3. Fill the Add a hook dialog as follows:
Webhook name
Enter a name for the webhook.
Connection
Establish a connection to your Netlify account.
Site ID
Select the site you want to watch for new deploy events.
Event
Select the event you want to watch.
-
Deploy request pending: Emitted when an untrusted deploy requires approval to begin building, as specified by the site’s sensitive variable policy.
-
Deploy request accepted: Emitted when an untrusted deploy request is accepted and can begin building.
-
Deploy request rejected: Emitted when an untrusted deploy request is rejected.
-
Deploy building: Emitted when Netlify starts building your site for a new deploy.
-
Deploy created: Emitted when Netlify finishes uploading a new deploy to our CDN.
-
Deploy failed: Emitted when a deploy does not complete.
-
Deploy locked: Emitted when the site is locked to a published deploy, stopping auto-publishing.
-
Deploy unlocked: Emitted when deploys are unlocked, resuming auto-publishing.
Watch Deploy Start
Triggers when a new deploy starts for a specified website.
To create the webhook for Watch Deploy Start module follow the steps below:
1. Choose the Watch Deploy Start module.
2. Add a new webhook.
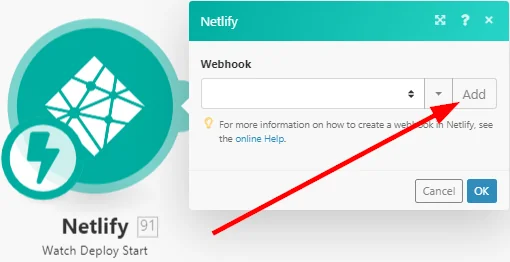
3. Fill the Add a hook dialog as follows:
Webhook name
Enter a name for the webhook.
Connection
Establish a connection to your Netlify account.
Site ID
Select the site you want to watch for new deploy starts.
Watch Deploy Success
Triggers when a new deploy succeeds for a specified website.
To create the webhook for Watch Deploy Success module follow the steps below:
1. Choose the Watch Deploy Success module.
2. Add a new webhook.
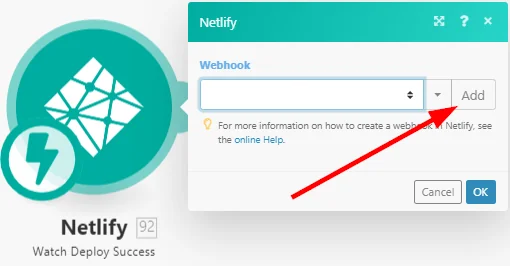
3. Fill the Add a hook dialog as follows:
Webhook name
Enter a name for the webhook.
Connection
Establish a connection to your Netlify account.
Site ID
Select the site you want to watch for new deploy successes.
Watch Deploy Failure
Triggers when a new deploy fails for a specified website.
To create the webhook for _Watch Deploy Failure_module follow the steps below:
1. Choose the Watch Deploy Failure module.
2. Add a new webhook.
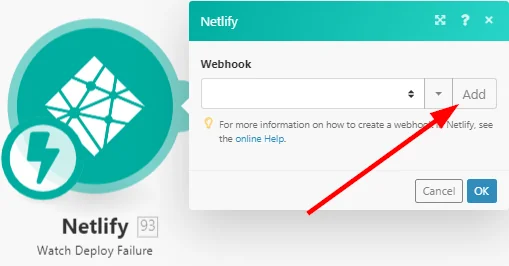
3. Fill the Add a hook dialog as follows:
Webhook name
Enter a name for the webhook.
Connection
Establish a connection to your Netlify account.
Site ID
Select the site you want to watch for new deploy failures.
List Site Deploys
Retrieves all site deploys.
Connection
Establish a connection to your Netlify account.
Site ID
Select the site you want to retrieve deploys for.
Create Site Deploy
Creates a deploy for the specified site.
Connection
Establish a connection to your Netlify account.
Site ID
Select the site you want to create a deploy for.
Deploy title
Enter the name for the deploy.
Draft
Check this option to create a draft.
Async
Requests that last longer than 30 seconds will be terminated automatically. When creating large deploys, check the Async option.
Site Build
Start a Deploy
Starts a new deploy on a specified site.
Connection
Establish a connection to your Netlify account.
Site ID
Select the site or map the ID of the site you want to start the deploy for.
File
List Files
Returns a list of all files in the current deploy.
Connection
Establish a connection to your Netlify account.
Site ID
Select the site or map the ID of the site you want to return a list of files for.
Other
Make an API Call
Allows you to perform a custom API call.
Connection
Establish a connection to your Netlify account.
URL
Enter a path relative to https://api.netlify.com/apie.g./v1/sites.
For the list of available endpoints, refer to the Netlify API Documentation.
Method
Select the HTTP method you want to use:
GET to retrieve information for an entry.
POSTto create a new entry.
PUT to update/replace an existing entry.
PATCHto make a partial entry update.
DELETEto delete an entry.
Headers
Enter the desired request headers. You don’t have to add authorization headers; we already did that for you.
Query string
Enter the request query string.
Body
Enter the body content for your API call.
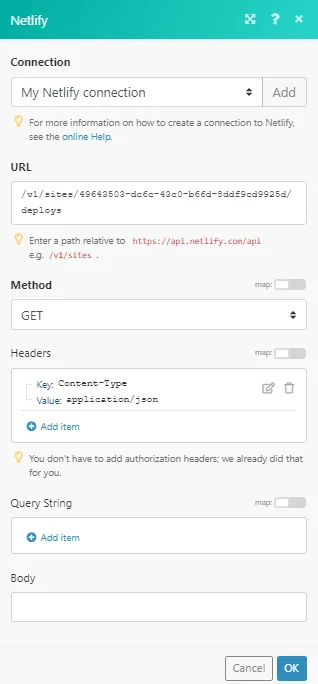
Example of Use – List Site Deploys
The following API call returns all the deploys for the specified site in your Netlify account:
URL: /v1/sites/{{yourSiteID}}/deploys/v1/dashboard
Method: GET
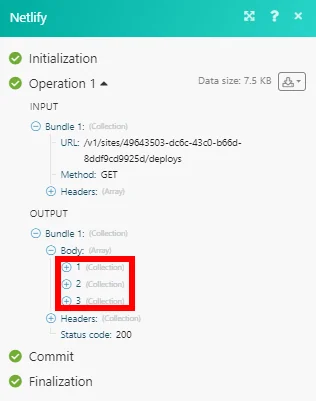
The result can be found in the module’s Output under Bundle > Body. In our example, 3 deploys were returned:
Legacy article, imported from the original Boost.space knowledge base (/knowledge-base/applications/website-building/netlify/).

